Your passport to good health and better immunity
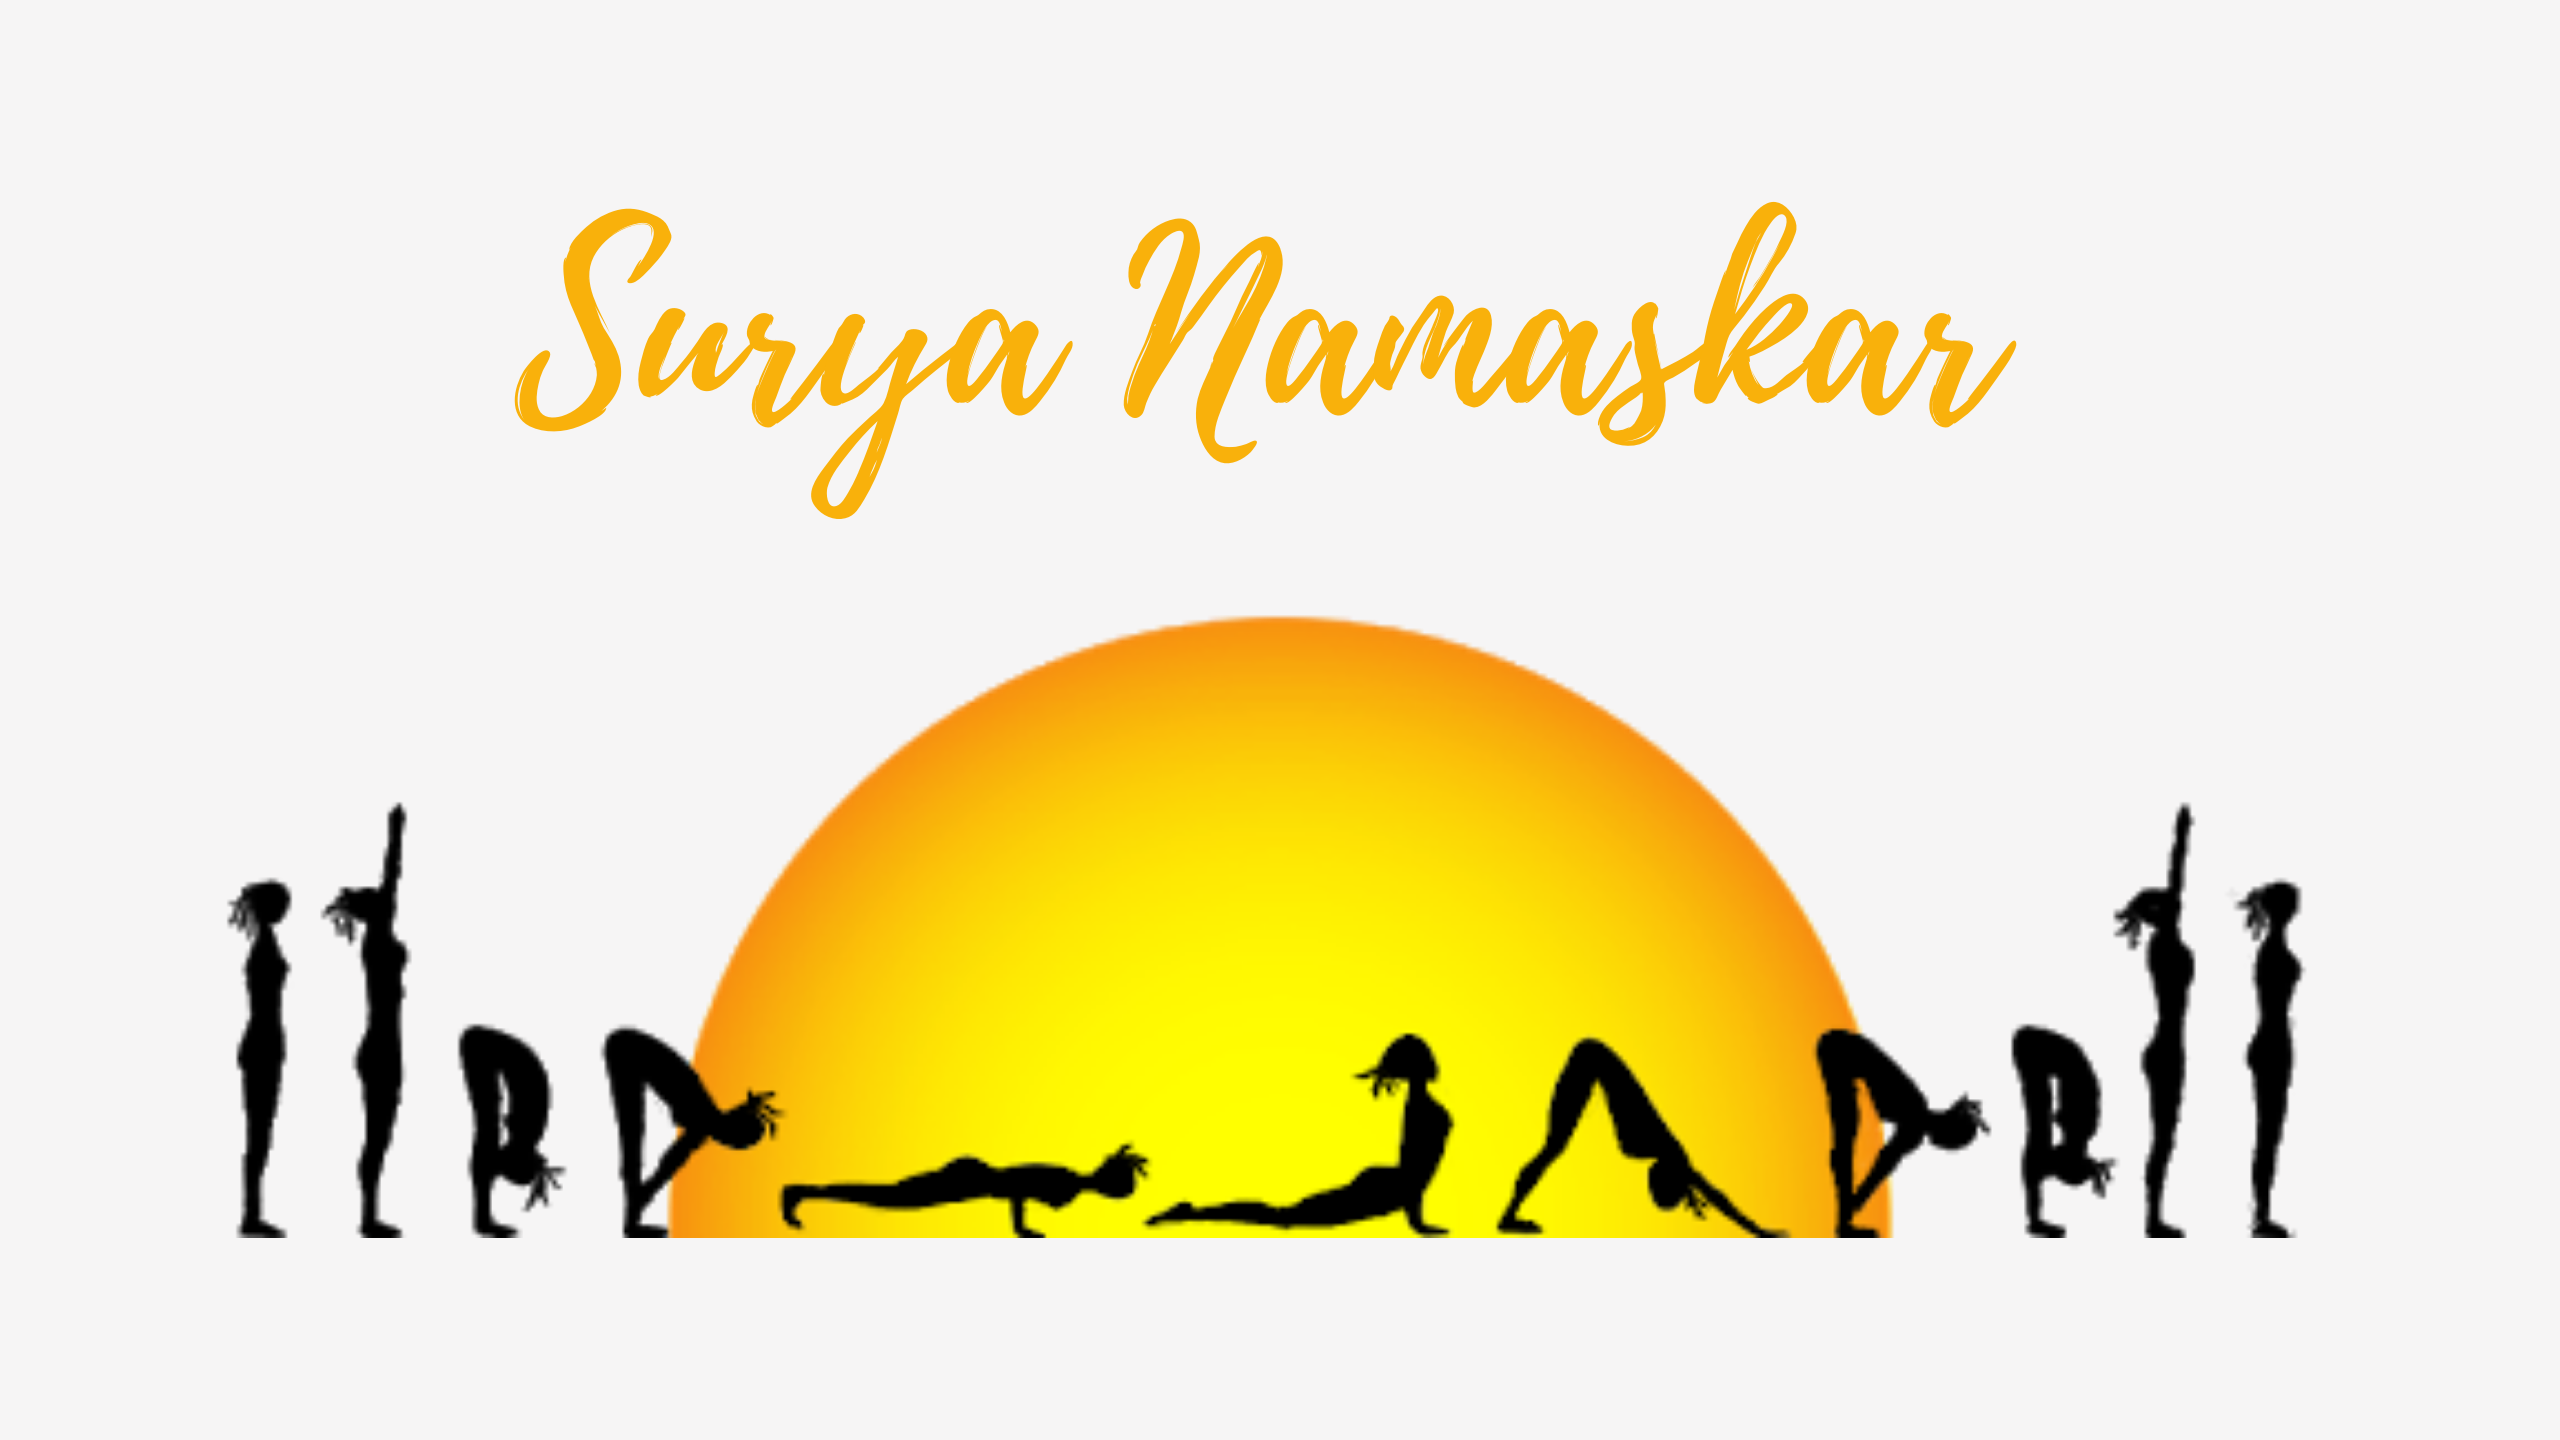
SURYA NAMASKAR IN PRACTICE
In our last blog, we saw the overall benefits that the Ultimate Asana of Surya Namaskar can offer. We hope that since you read about it, you have been able to practice the same, at a pace of your choice.
Today, we will look in detail at the series of Asanas (postures) that complete the Surya Namaskar. Before beginning any exercise routine, one must have a willingness of the mind. So long as the mind willfully engaged, the practice becomes near perfect. Yoga is a combination of the physical and mental as the end game, is far higher than rectification of body irregularities. In keeping with this principle, the first Asana for the series begins with –
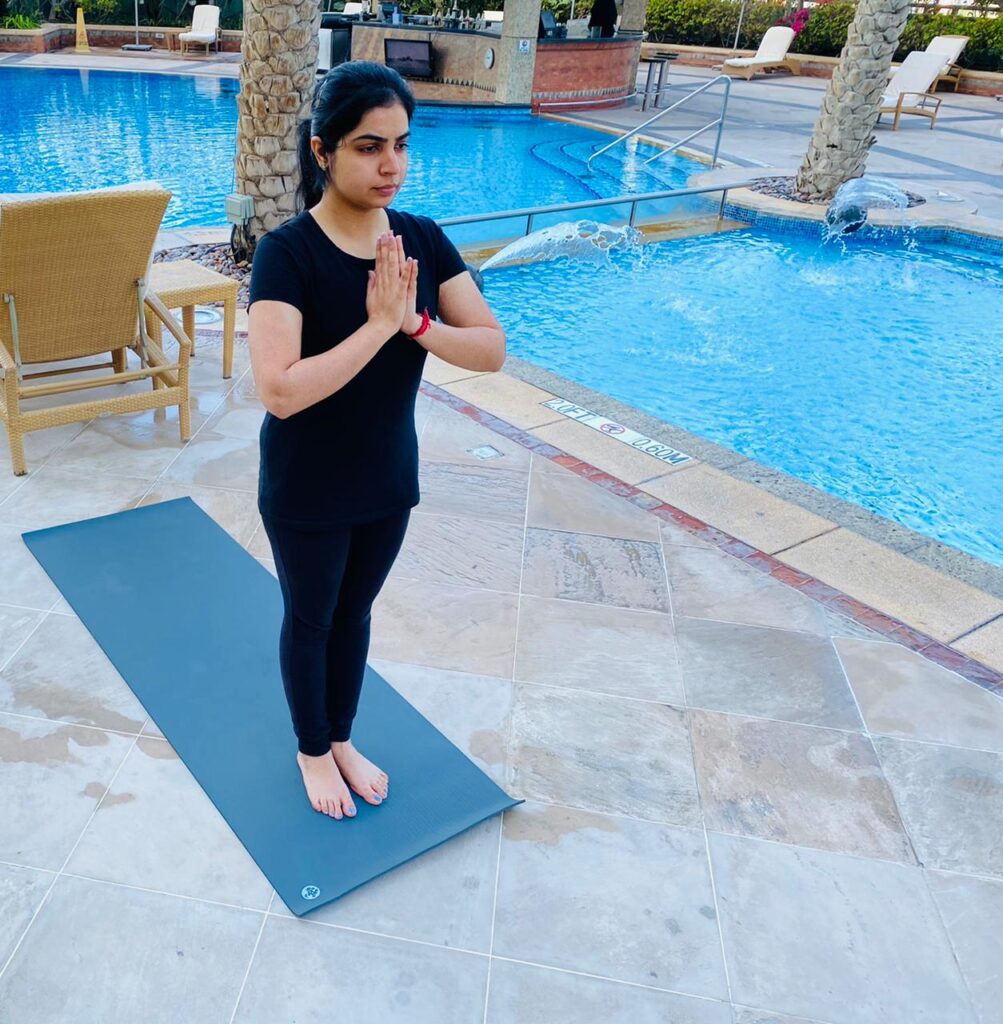
1. Pranamasana – (Prayer Pose) – Arms folded in prayer, astride your chest, with eyes closed, one calls for the mind to accompany each and every step of the way, thus preparing it in calm and purposeful way and balance the heart Chakra. Legs are held relaxed with heels together.
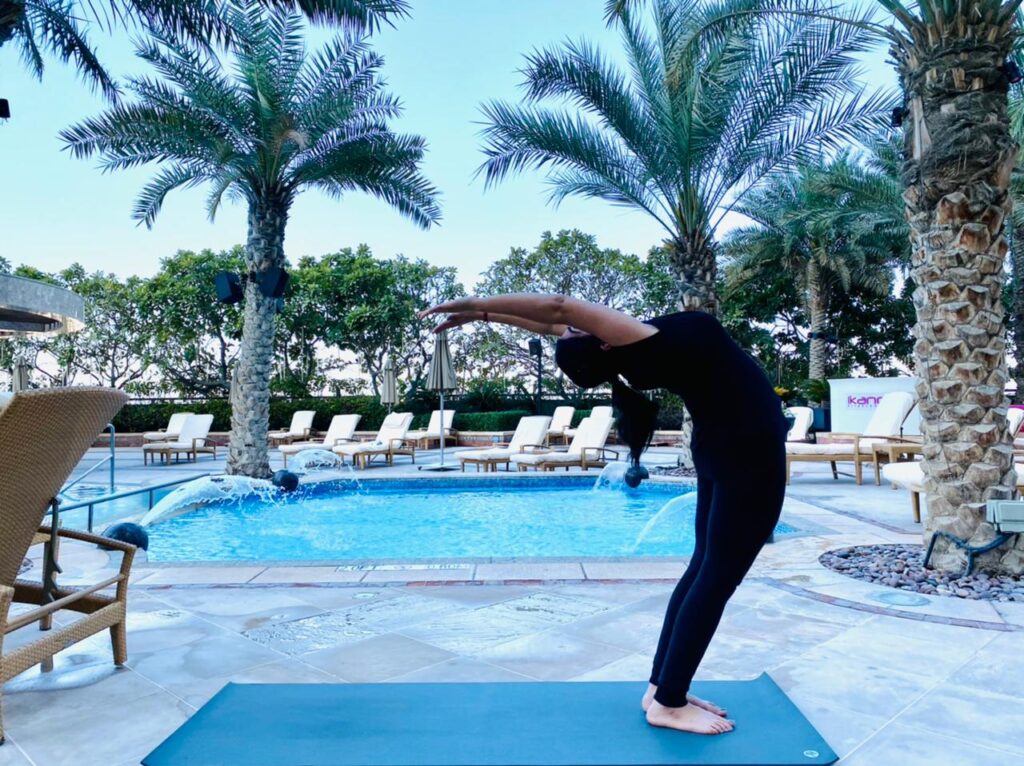
2. Hastottanasana (Raised Arms Pose) – It is one of the poses that repeats itself (Step 2 and 11). From the previous position, arms are raised above one’s head. As you get into final position, inhale synchronously. Try to let the biceps touch the ears, keeping the elbows straight and palms folded. Once in position, the lower back can be bent backwards, with the chin slightly raised upwards. This pose acts on the spinal cord, neck, develops a strong lower back and increased flexibility. The tension surrounding the neck muscles relax, expanding the lungs, increasing the oxygen carrying capacity. This pose directly impacts the Throat Chakra and beneficial for those with chronic throat issues.
3. Padahastanana – (Standing Forward Bending Pose) – this is also a repeat pose at Steps 3 and 10. Exhale from the previous position, bending forward. The forward bending should be from the lower back and not from the neck or shoulders. Remember to visualize your position with a straight spine. It helps as you approach the final position by looking up until your palms reach the floor. One can also hold the back of one’s ankles in the final position, fully exhaled and then look towards your toes. All forward bending postures increase the blood supply to the brain, improving memory and focus. Since the lower back is extended, with stomach compressed, it acts on abdominal muscles and the nervous system. One can feel a stretch down one’s calf and glutes muscles. This pose also improves the digestive system and balances the Solar Plexus Chakra.

4. Ashwa Sanchalanasana – (Equestrian or Horse Pose) – another repeat pose at steps 4 and 9 of the series. From the previous position, inhale into this position with right leg thrown backwards, extending it as much as possible, allowing the knee to fall as close to the ground as possible without touching it. The weight of body is taken on the front leg with the arms astride for support and balance. The front leg is at the centre of your chest. The throat is raised upwards. Synonymous with a horse, this pose strengthens the leg muscles. The human body structure is built around the legs that are like a pillar. Interestingly, studies have found 50% of bones and 50% of muscles in the human body are distributed in the legs. Keeping the legs strong prolongs aging. This pose directly acts on the legs, as you shift into alternate legs in Step 4 and 9, thus distributing your entire body weight on the front leg. As the spine is stretched along the quadriceps and hip muscles, it stimulates the abdominal glands, balancing the Heart, Solar Plexus and Third Eye Chakras.

5. Dandasana (Plank Pose) – Step 5 of the Surya Namaskar series. The front leg is thrown back as you exhale fully. Both legs can be together or slightly apart, as comfortable. The body weight is distributed on the arms and shoulders. Visualize to let the arms and wrists remain in line with shoulder width, looking straight ahead. The neck, back, spine are all aligned in one straight line. This pose tones the arms, wrists and leg muscles. It acts mainly on the core and is a great posture for reducing belly fat. It also acts on the Solar Plexus Chakra.

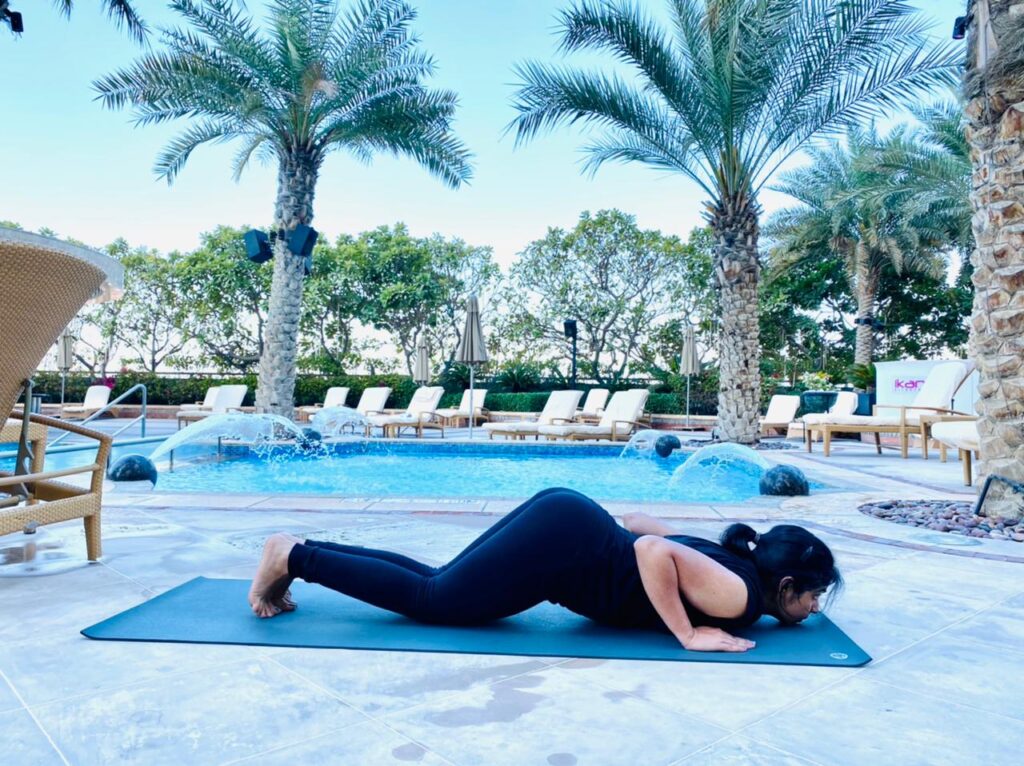
6. Ashtanga Namaskar (8 limbed Pose) – Step 6 of the series – it literally translates into Astha (8) Anga (limb). The 8 limbs (body parts) are touching the floor. From the Dandasana, lower yourself into this pose, allowing the chin, chest, palms, knees and toes curled towards you to reach the floor. No inhalation or exhalation required in this pose, as this is also a relaxation pose meant to rejuvenate before completion of the remaining poses in the series. It also acts on the sacral, root and solar plexus Chakras.
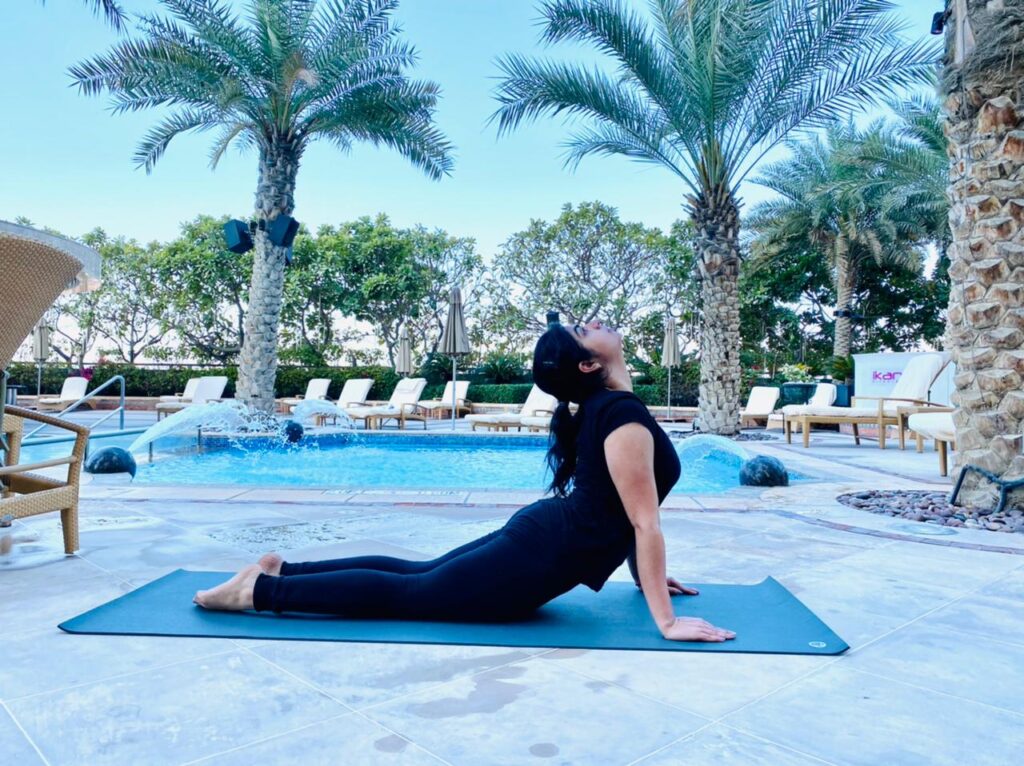
7. Bhujangasana (Cobra Pose) – Step 7 of the series. From the Asthanga Namaskar, raise yourself on your arms, curling the toes outwards, resting on your ankles. The lower back is compressed and the next stretches upwards as you inhale into final position. This position is believed to prevent slipped discs. As it puts pressure on the back, neck and spine, it relieves headache and backache. It also acts on the Sacral Chakra.
8. Adho Mukha Svanasana (Downward Facing Dog) – Step 8 of the series. From Bhujangasana, lift yourself on your toes so that you rest on your feet. With the feet apart, no more than shoulder width, visualize your body into an inverted V shape, straightening your knees and bridging your head between your hands, with elbows straight. Let your head hang loose between your hands, spread your fingers evenly so that the weight is evenly distributed. Let your breath flow normally once your exhale into final position. This pose is often called the salt of Hatha Yoga postures – as salt enlivens a dish, so does the Downward Dog enliven your bod making you feel alive, flavorful and spicier. Acting on the Sacral Chakra, it is believed to relieve varicose veins. It stretches the calf muscles and hamstring and puts pressure on shoulders. As with any inversion pose, it improves blood circulation thus relieving stress.

9-12. Are repeat postures of Horse, forward bending and back to the Prayer poses.
It is recommended that you begin your practice under a teacher or a student who has gone through the series. As with any of the poses, let your body dictate your level of comfort with any pose, never reaching the pain threshold of greater than 7 (with 10 as maximum pain level). This is the reason that awareness is a key element of Yoga practice – with your mind involved in practice, there is practically no change of injury.
Surya Namaskar practices, with just the Asana series, can do wonders for your body. As you attain the perfection allowed by your body, start the rhythmic breathing for each of the poses. Once you are comfortable with the series and breath control, you can enhance further spiritual connection by the chanting of mantras as noted on the first blog. Regularity in practice is the key to achieving success.
Namaste
Lifestyle Yoga Family.


